Simply put, kombucha is fermented tea. A culture of bacteria called SCOBY (Symbiotic Culture of Bacteria and Yeast), sometimes called “the mother,” consumes the sugar in a fermentation process just like yeast does in beer. The result is a tangy, semi-sweet fermented tea with a very low level of alcohol–typically below 1% ABV. It can be carbonated, making for a bubbly elixir, and combined with other ingredients like fruit or spices to open up even more flavor possibilities.
While kombucha is hailed as a beneficial probiotic beverage, the jury is still out on whether or not it actually has such profound health effects. We’re not here to clear up that debate, but learning how to make kombucha at home is a fun way to explore other fermented beverages in addition to your beer, mead, and cider adventures.
Just like making beer, fermenting tea can be done in a number ways, and in this article we’ll show you one of these techniques for making kombucha at home.
Materials:
- organic cheesecloth
- bottles
- pH meter (optional)
- ppm meter (optional)
- 2-3 gallon kettle
- Starsan
- kitchen thermometer
- 1 gallon wide-mouthed jar
- funnel
- strainer
- tongs
Ingredients:
- organic black tea (8 tea bags makes 1 gallon)
- organic sugar
- SCOBY (Symbiotic Culture of Bacteria and Yeast)
- filtered water
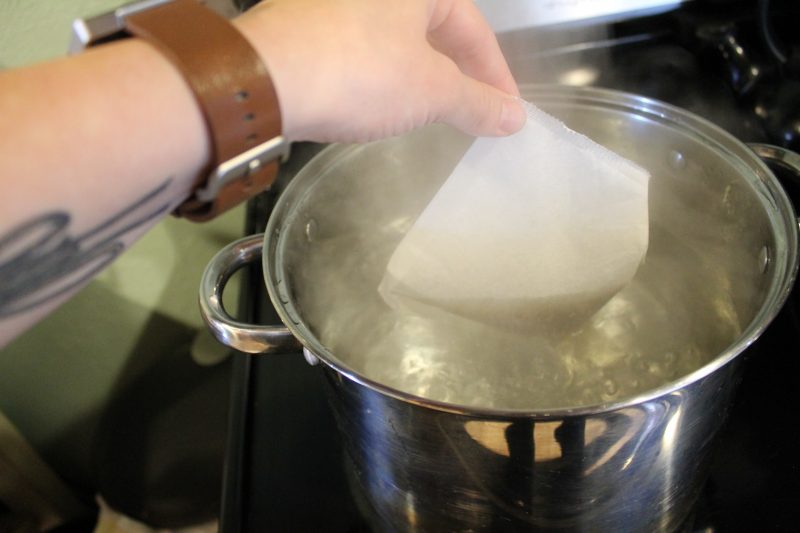
Step 1: Brewing the Tea
I start with filtered water. Your home water filter should be sufficient, but it is important not to use water that is too mineral-rich because it will alter the flavor of the kombucha.
Place 1 gallon (3.8 liters) of filtered water into your kettle and bring to a boil. Once the water is boiling, remove the kettle from the heat, add the tea bags, and let steep for 4 minutes. Note: It’s very important not to over-steep the tea because you will end up with very bitter kombucha.
Step 2: Adding Sugar

After steeping the tea, add 1 cup (200 g) of sugar and stir until it dissolves. Cover your sweetened tea with cheesecloth until it cools to room temperature. This can take several hours, but you can fill your sink with ice and place the kettle in there to help speed up the process.
As the tea is chilling, thoroughly sanitize your 1-gallon jar with Star San in preparation for the tea.
Step 3: Pitching the SCOBY

Whether you get your SCOBY mother (bacteria culture) from a friend or you purchase it from your local homebrew shop, you’ll need to make sure it stays at room temperature and never exceeds 90° F (32° C) or goes below 32° F (0° C). That is why pitching your SCOBY in room temperature tea is crucial; otherwise, you could potentially harm the bacteria and hinder fermentation. The SCOBY should also come submerged in a starter tea. This starter tea keeps the SCOBY comfortable in its environment so that you don’t shock it when you move it to another tea.
Test the temperature of your sweetened tea with a sanitized kitchen thermometer. Remember: the temperature should be no higher than 90° F (32° C). When it has cooled sufficiently, pour the sweetened tea into the sanitized wide-mouth jar.
Wash your hands thoroughly with soap and water. Take your SCOBY out of the vessel it came in and place into the sweetened tea in the jar. Pour in the remainder of the starter tea as well. Cover the jar with a piece of organic cheese cloth and affix it so that it stays in place. Place the concoction in a dark place for 1 to 2 weeks. Note: Don’t stress if your SCOBY falls to the bottom of the jar at first—it will eventually rise to the top to create a new SCOBY.
Step 4: Removing the SCOBY

After 7 to 14 days, you’ll want to give the kombucha a good look and a good smell. The fermented tea should actually have a sour/sweet smell, and the SCOBY should have formed a bigger “mother” SCOBY that covers the entire surface area of the liquid at the top of the jar. With thoroughly clean hands, remove the SCOBY and put it in a jar submerged in kombucha for your next use.
Step 5: Bottling your kombucha

For bottling, you’ll need about 4 liter-sized bottles or 8 to 10 22 oz. bottles. I prefer Grolsch-style flip-top bottles, but any of your various stocked up bottles should do. Sanitize the bottles, caps, funnel, and strainer. I bought a funnel with a built-in strainer, but if you don’t have that, place your strainer over the funnel and begin filling your bottles.
By bottling your kombucha, you have moved it to the secondary fermentation. Allow the kombucha to ferment another week to ten days in the bottles in the refrigerator. Allowing your kombucha to ferment in secondary will increase carbonation. Note: If you like your kombucha less bubbly and carbonated, you may not want to let it ferment in secondary as long.
Optional: Check the pH of your kombucha
Kombucha pH should lie somewhere between 2.5 and 3.5.* Test your kombucha to see if it falls in the right range. If the pH is too high, you might consider letting it ferment some more before bottling. If it is too low, go ahead and move it to bottles.
*pH range taken from Kombucha Kamp
* * *
Hailing from the South, Millie has developed an affinity for the beer industry and all the shiny things that come with it. When not exploring beer, Millie is in the kitchen, enjoying the outdoors, and wearing out her dancing shoes. Millie is the American Homebrewers Association administrative assistant.
The post How To Make Kombucha appeared first on American Homebrewers Association.