Situated on a gentle slope in the upper Big Santa Anita Canyon northeast of Los Angeles, Sturtevant Camp is a survivor of a bygone era. During Southern California’s “great hiking era” and gold rush of the late 1800s, many camps and hikers’ hotels were built in the canyon. These remote mountain retreats were accessible only on foot, with provisions delivered by teams of mules. Carrying up heavy casks of beer wasn’t an option, but with a pristine mountain stream flowing alongside the camp, brewing beer on-site became part of the culture.
Almost 125 years later, Sturtevant Camp has returned to its homebrewing tradition with occasional Beer Making & Tasting weekends. The camp’s mule train still brings up food and packs for campers, so guests can pack away ribeye steaks and brownies to pair with beers at the top.
Four Miles and a World Away
I started Sturtevant’s Beer Making & Tasting weekend with high hopes of enjoying every moment of the hike and breathing in nature. But, as I ascended the mountain, my attitude descended into a “WTF did I get myself into?” sort of disposition. I didn’t have hiking boots, just old sneakers. My backpack was far too heavy, and my legs stopped working at one point.
But, the downhill was great! At the start of the trail, you get to steeply descend a good quarter mile into the valley, and it gets cooler and cooler the lower you go. The brown manifestations of Los Angeles County’s drought disappear, and flowers and greenery emerge from underground springs nestled in the mountains.
Alas, what goes down must come up. And up, and up, and up. My breath labored, and my legs started to burn. It felt like one big loop, with lots of twists and turns that could very well lead you in a circle if you didn’t know where you were going. I am a city girl who relies on a GPS, which doesn’t work in the mountains (bring a map if you go).
Sturtevant Camp ESB
Batch Size: 5.25 US gal. (19.9 L)
Original Gravity: 1.055
Final Gravity: 1.015
Bitterness: 50 IBU
Color: 10 SRM
Alcohol: 5.2% by volume
MALTS
6.3 lb. (2.86 kg) pale liquid malt extract
1 lb. (454 g) pale dry malt extract
1 lb. (454 g) Simpsons Medium Crystal (55 L)
HOPS
2 oz. (57 g) Willamette @ 60 min
1 oz. (28 g) East Kent Goldings @ 15 min
1 oz. (28 g) East Kent Goldings @ 1 min
YEAST
Fermentis Safale S-04 (dry yeast is preferred over liquid cultures for the warm summer hike to camp)
BREWING NOTES
Steep crystal malt at 158–160°F (70–71°C) for 40 minutes, remove grains from steeping water, and completely dissolve malt extract. Boil 60 minutes, adding hops as indicated above. Cool wort to 65°F (18°C), pitch yeast, and ferment to completion before bottling.
I began to seriously question my decision-making around mile three when my party became a little confused on the trail. I was tired and lost, and I needed ibuprofen and IPA. Fortunately, at around 3.5 miles, I spotted a call box and desperately cranked it in hopes of getting airlifted out to a moderately priced three-star hotel. The original telephone system has been in operation for more than 60 years and is a single-line, hand-cranked, 6-volt-battery-operated system that runs between Sturtevant Camp and Chantry Flat below.
Deb answered the phone, laughed, told me I was only a half a mile away, and encouraged me to keep going—up. By the time I limped into camp, I was delirious from dehydration. My sneakers were toast and so was I.
Deb greeted us with well wishes and a tidy cabin only a few yards away from a working hot shower. After a nap and a shower, I emerged to happy hour and a beer tasting.
Deb had gone to four different LA breweries and gathered nine outstanding local craft beers for our first night of tasting. The night of beer drinking and zip line rides eventually settled into a friendly game of ping-pong. By friendly, I mean “viciously competitive,” and by settled into, I mean “became an insanely long game with backwoods brewer John Wood.”
Brewing off the Grid
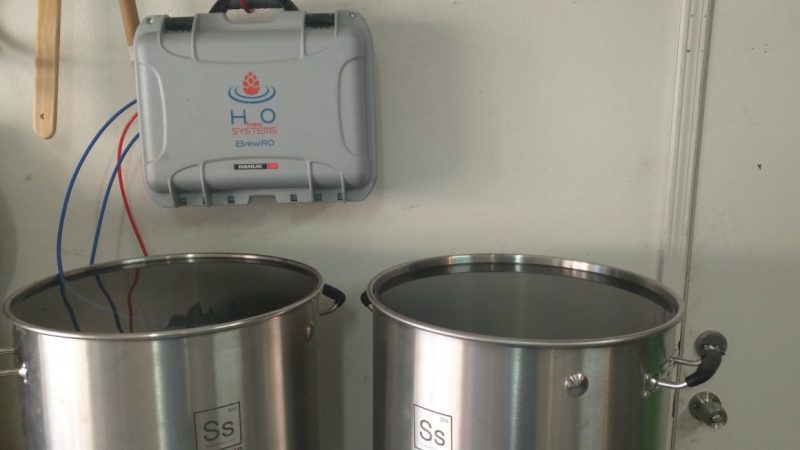
John and Ruth Wood are an interesting couple who spend their weekends living off the grid and brewing beer. Soon after they bought the camp, John developed a craving for cold beer after the long hot hike up the mountain, but the propane fridge used too much gas when they weren’t there. And after starting it up, the fridge took almost an entire day to cool beer to a reasonable temperature. So, John decided year-round refrigeration was in order.
Solar made sense, but sun exposure was poor, so John bought a cheap chest freezer and rigged it to a cheap PID temperature controller (you can get a perfectly good one for $15). This allowed John and Ruth to run the chest freezer at refrigerator temperatures at a fraction of the power consumption (0.16 kWh per day). Now they can have a cold homebrew anytime they walk into the cabin.
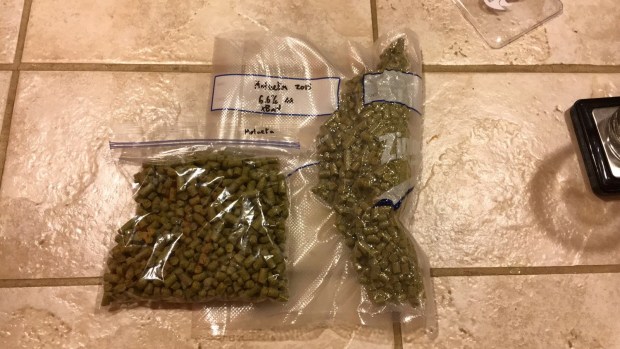
On Saturday morning, John discussed basic beer recipes and ingredients with our group. He had brought in an array of hops with a broad spectrum of bitterness and aroma, as well as malts roasted to varying degrees of Lovibond. One thing he hadn’t anticipated was the old sink fixture that couldn’t take a hose adapter for the wort chiller. So, after we brewed, they cleared out one of the propane refrigerators and left the wort to chill till Sunday morning before we pitched the yeast.
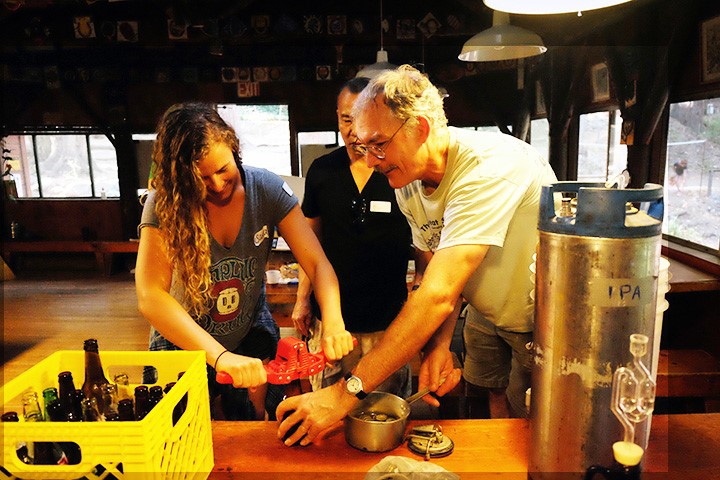
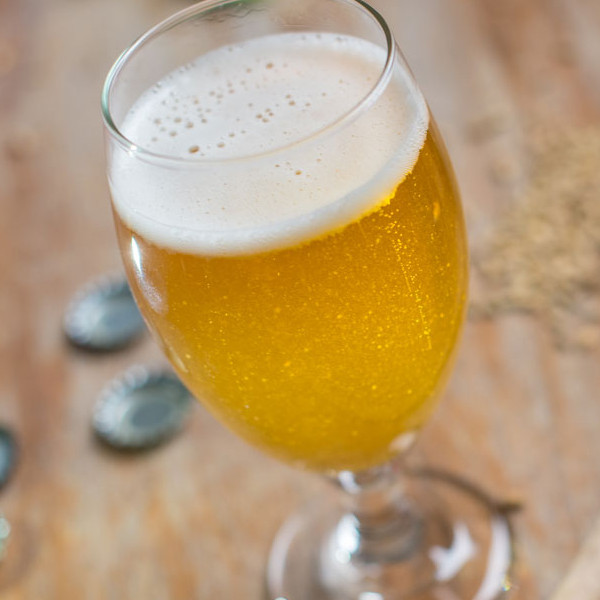
John and Ruth then showed us how to sanitize the bottles and bottle beer. Obviously, ours wouldn’t be ready for a while, but John had previously brewed a batch of IPA and had everyone take turns filling and capping to demystify the process. He and Ruth had also hauled up a keg of extra special bitter that was an easy-drinking crowd pleaser. It was hoppier and bigger than a standard English bitter but never in your face.
Tasting Craft Beer at Sturtevant
David Scarpa, specialty beer buyer at Whole Foods in Tustin, Calif. attended the weekend to embrace his love of hiking and craft beer. Dave led the tasting of local beers and provided some great insight. Craft brewers put their heart and soul into every beer, and many are homebrewers who stepped out of the garage and into commercial production.
Pacific Plate Horchata Stout
Pacific Plate Brewing Company is one of Southern California’s smallest licensed breweries. Its Horchata Stout is a traditional English milk stout flavored with chocolate, cinnamon, and vanilla beans. It has a rich, milky body that makes it ideal for cool-weather sipping.
Eagle Rock Brewery Extra Pale Ale
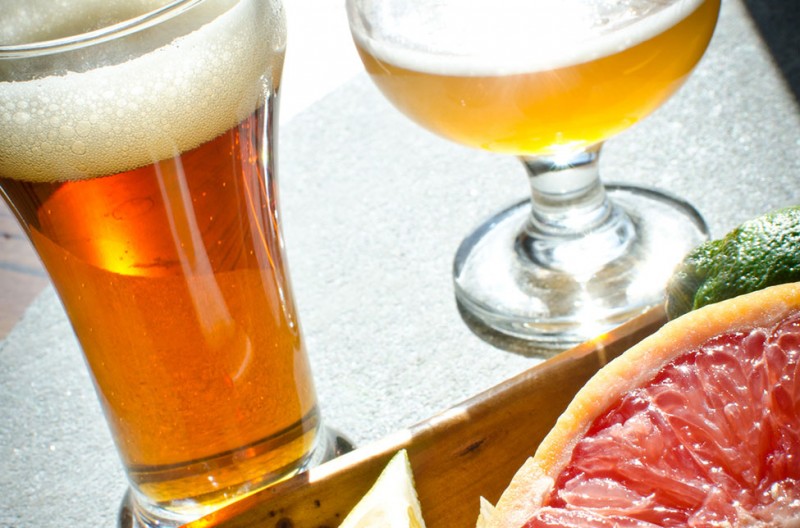
Award-winning, family-owned Eagle Rock Brewery was the first microbrewery in decades to base its operations in the city of Los Angeles. Its golden-orange Extra Pale Ale has a frothy white head and aromas of grapefruit, lemon, and caramel. The middle has a little bitterness, but it finishes with a sweet malt flavor and moderate carbonation. It’s a very drinkable beer that’s perfect after a long, hot hike.
Brewyard’s Smoking Red Head
Homebrewers Sherwin Antonio and Kirk Nishikawa had been making small batches together for years before they decided to open Glendale’s first microbrewery, Brewyard Beer Company. Smoking Red Head is a smoked Irish red lager (California common–style) that has a great toasted malt flavor. It pours reddish amber and has a medium body and a smooth, smoky finish.
Stone Brewing 24 Carrot Golden Ale
From humble homebrew beginnings to 11-time member of Inc.’s list of fastest-growing private companies, Stone Brewing was the ninth-largest craft brewer in the United States in 2016. Its 24 Carrot Golden Ale was the 2015 American Homebrewers Association–sanctioned Stone Homebrew Competition winner. The winning homebrewer, Juli Goldenberg, added carrots, raisins, and cinnamon to a Belgian golden ale and made it taste like liquid carrot cake, complete with cream cheese frosting. This ale is creamy and decadent with hints of Belgian yeast and toasted malts.
Stone Brewing RuinTen Triple IPA with Orange Peel & Vanilla Bean
The inspiration for Stone Brewing’s RuinTen Triple IPA hit when Stone Ruination was made extra hoppy in 2012 for its 10th anniversary. Soon thereafter, the nickname “RuinTen” began to circulate, and it eventually stuck. This version adds orange peel and vanilla for a version that’s not quite as hoppy as the original but every bit as flavorful.
For more great craft beer ideas, visit the AHA’s friends over at CraftBeer.com.
The weekend demonstrated that by keeping things really, really simple, anyone can make great beer anywhere. Humans have been brewing beer “off the grid” since before recorded history, but the chance to participate in this timeless tradition and enjoy the outdoors was tremendous.
As Will Thrall, San Gabriel Mountains historian and protector, put it, “There is no exercise so beneficial physically, mentally, or morally, nothing which gives so much of living for so little cost, as hiking our mountain and hill trails and sleeping under the stars.”
I think Will forgot to mention the cold ale at the end of that hike.
To reach Sturtevant Camp, take the Santa Anita exit (exit 32) from Interstate 210 and head north. Stay on N. Santa Anita Ave. until it ends at Chantry Flats. If you can find a parking spot at the trailhead, snag it and display your Adventure Pass. Adams Pack Station has overflow parking, but you’ll have to pay $10 even if you already have a pass. This is a well-traveled, well-maintained route with plenty of clear trail signs. With all the “upper and lower” versions of trails, it might get confusing, but if you have a map and know where you’re going, you should be able to find your way. For more information, go to sturtevantcamp.com.
 Tracy Hammond grew up on the mean streets of Bangor, Maine and learned early on that she had to fend for herself in the kitchen. She’s the first to admit she isn’t an internationally renowned chef or self-help guru, but Tracy has successfully tamed many alpha males over the course of her lifetime. The author of Feed The Beast: Cooking For Your Alpha Male, she currently lives in Sierra Madre, Calif. with her daughter, dog, and alpha male husband—comedian and writer Joe Bartnick. Connect with Tracy at linkedin.com/in/tracyhammond.
The post Beer Camp: Brewing Beer off the Grid appeared first on American Homebrewers Association.


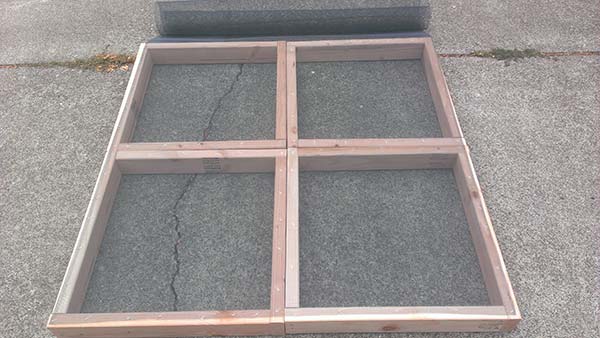

 At this point, you should pick your hops into sacks and weigh them. It is always more fun to have a helper. Place a single variety into a single (screened) tray. Once your tray is full (about 1/3 up the side), set it on top of the base tray over the fan so that the tray edges align perfectly over each other. Continue to pick your hops, fill your trays and stack them up. Leave one of the trays empty to the side. I used a piece of masking tape to mark each tray to know which variety was in which tray. Next year, I may just add a plastic sleeve to the side and make up cards with the names of the varieties I grow to sort them that way (it will look much nicer).
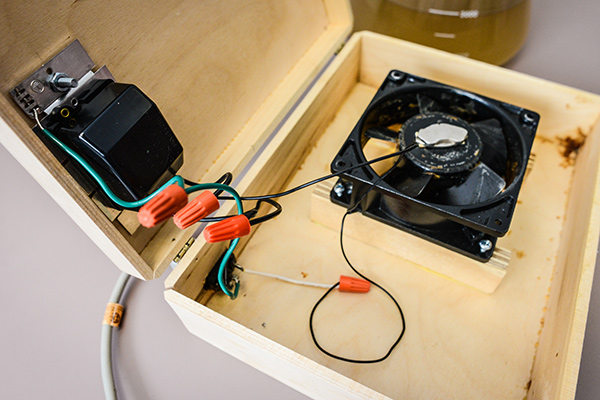
 Drill small holes through the box to secure the on/off switch. Do the same if using a rheostat.
 Once the stir plate is functioning with the ability to control the speed of the fan, seal/close the box containing the electrical components. As a test, fill the flat-bottomed starter vessel to a typical volume you will be working with and gently add the magnetic stir bar.